
Most people meet food photography like this: you make breakfast, take a picture on your phone and see something gray and flat on the screen. There was a warm, fragrant dish on the table, and it arrived in the photo as a pale plate with no depth. The gap between those two pictures is the whole profession, and it’s made of things you can absolutely handle as a beginner.
Food photography has a reputation as an expensive niche that only lets you in with a studio and a crate full of antique boards. In reality it’s cheaper to get into than most other fields: you don’t need a model, a location or anyone’s consent to be in the photo. You need a plate, a window and a few rules that work the same on a phone and on a camera that costs several thousand dollars.
Below we’ll go through why food is a good start for a beginner, how to set a dish by the window, the three working angles and when to use each, the props you really need and the ones that only get in the way, who pays a food photographer and for what, real day rates, and a step-by-step plan for landing your first restaurant.
I’ve been shooting commercially for twenty years, and food is my main specialization: New York restaurants, brands, my own cookbooks, and in other niches, work for Zara, Louis Vuitton and Dolce & Gabbana. More than two hundred and fifty Michelin-starred chefs have worked in front of my camera, my photos have appeared in Forbes, Saveur and the New York Times, and the British Journal of Photography named me one of the hundred best food photographers in the world. It all started with a plate by a window.
- Why food photography is an easy way in, not a studio summit
- Where to start: a plate, a window and a phone
- Light in food photography: one window and backlight
- Angles for food: 45 degrees, overhead and table level
- Props and backgrounds: what you really need and what not to buy
- A story in the frame: what clients pay more for
- Who pays a food photographer
- How much food photographers earn
- How to land your first restaurant
- Mistakes that kill the shot and the booking
- What to do today
Why food photography is an easy way in, not a studio summit
Hundreds of restaurants and cafes open around the world every day, and each of them builds its advertising around a picture. The menu, the website, delivery, the social media page, ads in the feed: photos of dishes are needed everywhere. The niche is relatively young, and demand is still growing faster than competition.
For a beginner there are three advantages here that you won’t find in photographing people. A dish doesn’t show up late, isn’t camera-shy and doesn’t ask you to retouch its belly. You can shoot at home, at any time that suits you, and practice on whatever is already in the fridge. A mistake costs nothing, because you can reshoot the subject twenty times in a row.
The third advantage is about money, and beginners rarely think about it. A private client comes to a photographer once a year or even less often, while a restaurant updates its menu every season, launches seasonal items and constantly feeds its page with new content. One regular restaurant replaces a dozen one-off shoots.
Where to start: a plate, a window and a phone
Your first series comes together from what you already have at home, and you don’t need a camera for it. A phone from the last few years shoots food perfectly well, and on the client’s screen not everyone will see the difference from a camera. The question is always how the dish is set and where the light falls on it from.
The lens glass on a phone collects grease from your fingers and your pocket, and that makes the photo hazy, with halos around the bright spots. Wipe it once before every series, and half of your sharpness problems will go away on their own.
A hot dish is alive for the first few minutes: that’s when the sauce shines, the steam rises and the herbs stand fresh. Set up the whole shot before the plate reaches the table, and shoot the first series while everything still looks edible.
Direct flash kills shine and depth, and the dish turns into a flat blob with a hard shadow behind it. Instead, move the plate to the window and add a white sheet of paper on the shadow side.
Digital zoom just enlarges the pixels and eats the detail. Step closer yourself, or shoot wider and crop later. The result will be noticeably cleaner.
There is always less light in a room than it seems, and even a slight hand tremor blurs the shot. A stack of books, a windowsill or a cheap tripod will save the series better than any setting.
Alongside your practice, take a close look at the menus in places you already go to. Most often the picture there loses to the real plating, and that is exactly your future market.
 Anna Ivanchenkova
 Kateryna Petruk
 Olga Sorokina
Light in food photography: one window and backlight
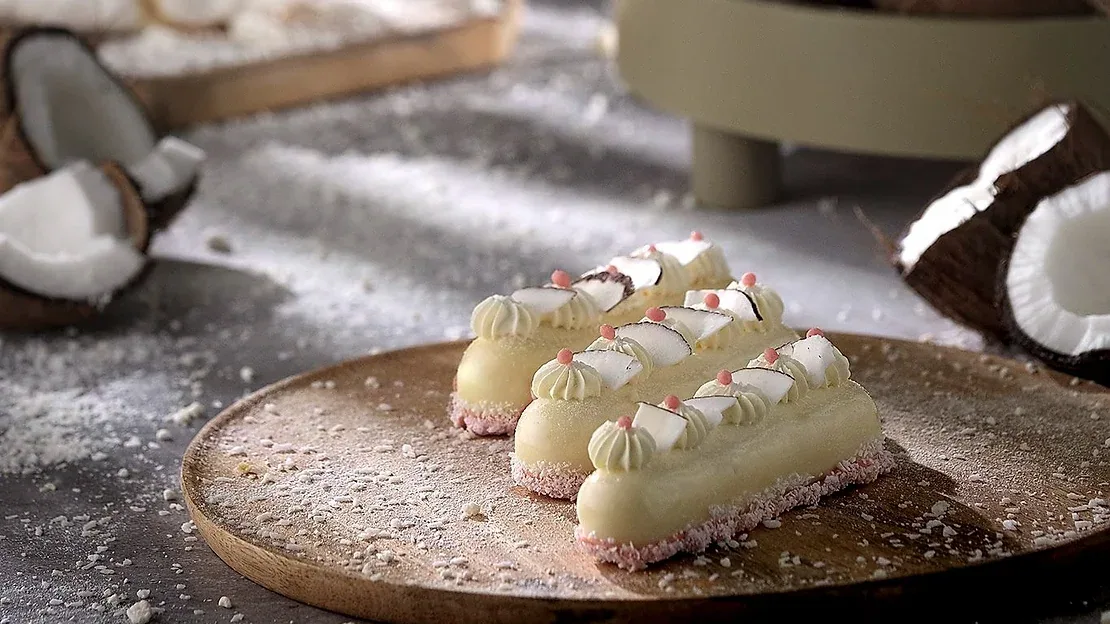
Food looks appetizing when light passes through it and across it instead of hitting it from the front. That’s why the main lighting pattern in this niche is backlight: the source sits behind the dish and slightly to the side, at a low angle to the table. This light picks out the steam above the plate, shows the shine of the sauce and draws the texture of the crust.
At home an ordinary window plays the role of the source. Place the table so that the window ends up behind the dish and you are shooting toward it. In front, on your side, put a white sheet of paper or a flattened cardboard box and move it closer until the front of the dish stops sinking into darkness.
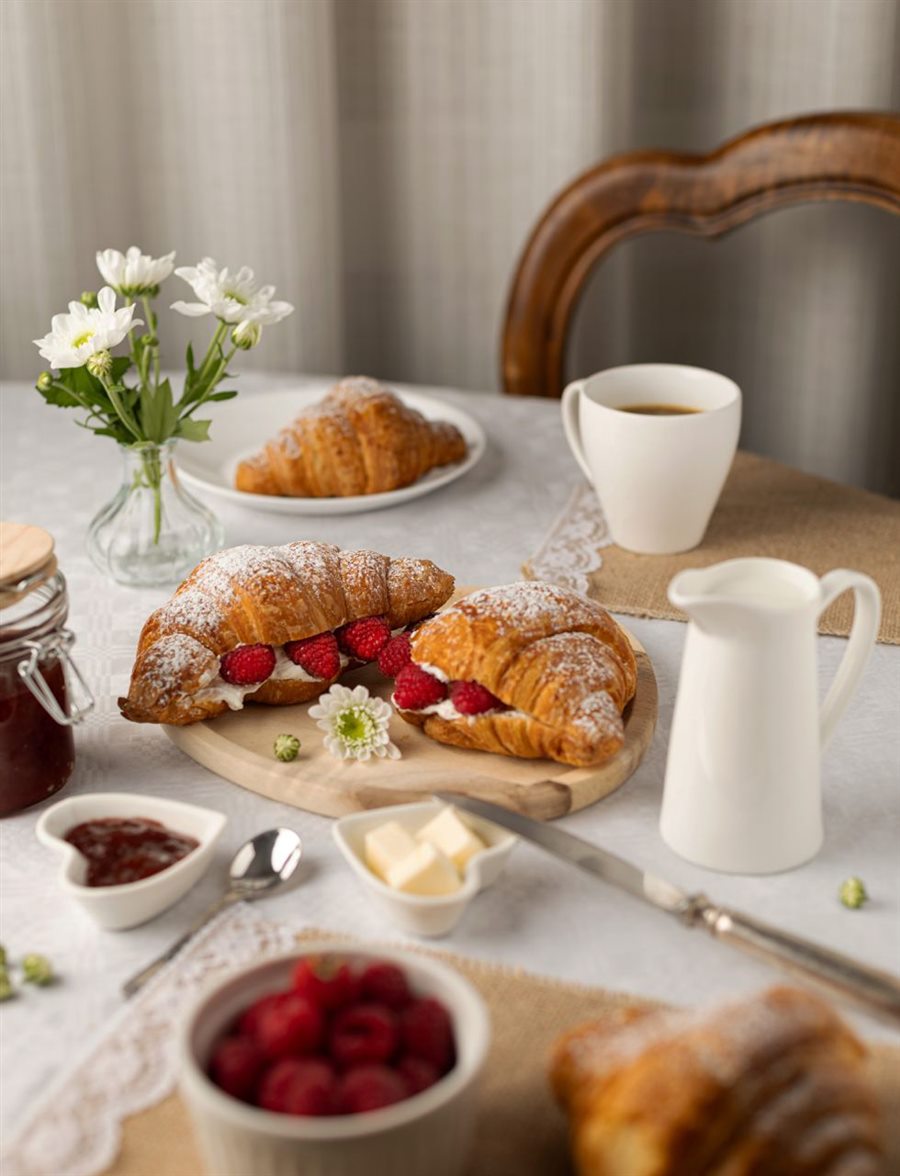
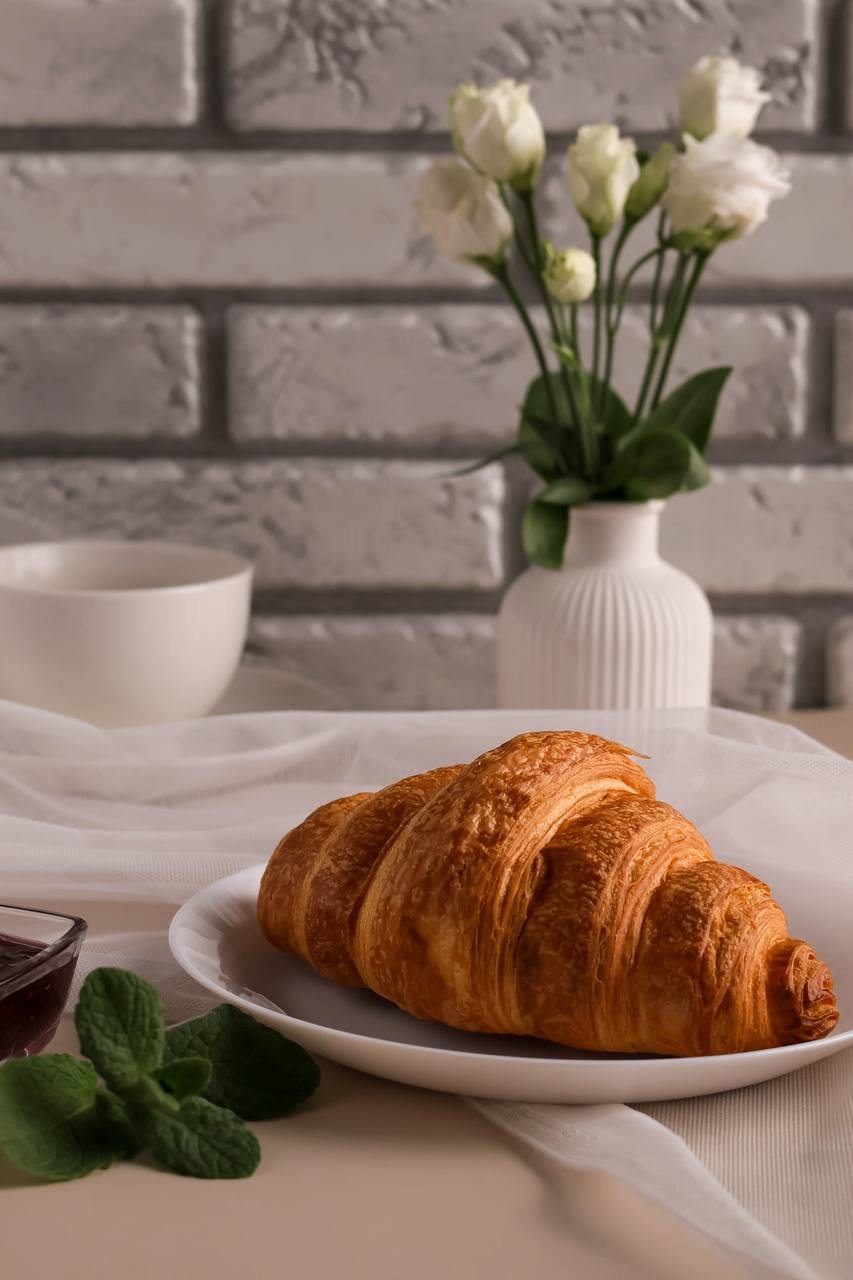
The second working pattern is side light, when the window is off to the side at about forty-five degrees. It reads as breakfast by a cafe window and works well for light, airy subjects: coffee, pastries, breakfasts, desserts. These two patterns cover most jobs, and the other setups are supporting ones.
The best weather for a beginner: clouds turn the sky into one big soft source, shadows become light, and exposure mistakes are almost invisible.
It gives a hard, contrasty look that is a gift for bread and grilled food and too much for desserts and soups. Hang a sheer curtain or a sheet of tracing paper on the glass, and the light turns soft right away.
Turn off the ceiling light and leave one source to the side of or behind the dish, at about table height. Mixed light from several lamps gives a muddy color that no editing will fix later.
A one-light setup covers two out of three of my commercial shoots, and I mean photos for restaurants and brands. The shrimp for Whisky Corner, a Scottish restaurant in Kyiv, were shot with one small softbox as backlight at a very low angle, and there is no reflector at all: the ridged grill pan draws the shadows on its own. Equipment adds convenience, but it doesn’t add the ability to see direction.
I’ve covered softness, distance from the window and working with a reflector in detail in the article on light in photography.
Composition grids is a free fifteen-minute masterclass plus a trainer that overlays the grids right on your phone camera. Turn it on, put a plate by the window and build the shot along the lines: in food photography, composition is what decides whether the viewer wants to eat it.
Watch the masterclassAngles for food: 45 degrees, overhead and table level
When you photograph people, you search for the angle. When you photograph food, the dish dictates it. There are only three working options, and each exists for its own kind of plating.
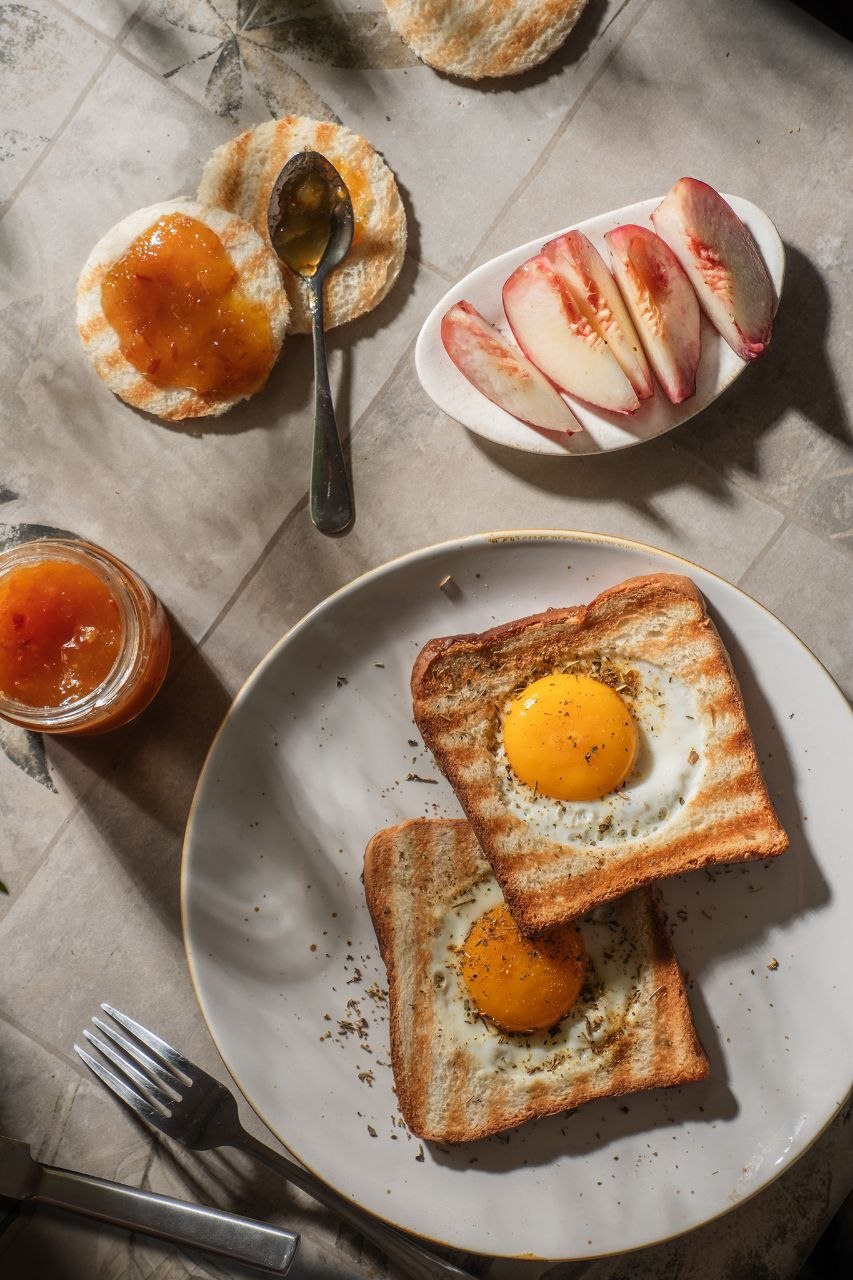
The angle at which you see the plate when you sit down at the table. The viewer’s brain reads it as an invitation to eat, so this is the basic angle for most dishes with volume: pasta, meat, soups in a deep bowl, breakfasts.
Works for flat compositions and layouts where geometry matters: pizza, bowls, several plates on a table, ingredients around the dish. This angle eats volume completely, so it simply kills tall plating.
The camera sits at the height of the plate itself. This is the angle for everything tall and layered: a burger, a sliced cake, a glass, a stack of pancakes. Layers and texture show well here, but you have to choose the background more carefully, because all of it ends up in the frame.
The most common beginner mistake in menus sounds funny until you see it in practice. When every item is shot from above, the guest flips through the page and can’t tell what the dish looks like on the table. Shooting everything from one angle means taking away half of the restaurant’s appetite appeal, so in every menu the options alternate.
In food, composition matters more than the camera, and that’s not a figure of speech. A plate, a spoon next to it, two berries that rolled onto the table and a glass deep in the frame come together into a geometry the eye reads as harmony. Group objects in triangles, keep the main dish where the grid lines cross, and leave some air in the frame. I covered the basics of this in the article on composition and the rule of thirds.
Props and backgrounds: what you really need and what not to buy
People tell scary stories about props in food photography, and some of them are true. An experienced food photographer really is a familiar face at flea markets, haggles over old boards and silverware and hauls it all from shoot to shoot. That is what the niche looks like after several years of work, and you don’t have to start there.
A starter kit comes together in one evening and almost for free. You need three backgrounds, two or three textiles and simple cutlery with no patterns.
Matte and neutral: a sheet of gray cardboard, a dark baking sheet, a wooden cutting board, a piece of raw plywood. Go for gloss at the start only if you enjoy fighting reflections, because they eat more time than they’re worth.
A linen napkin, a plain towel, a tablecloth with no print. Textiles give the shot a soft line and hide an uneven table edge.
Simple plates in one color, ideally white, cream or dark matte. A plate with little flowers around the rim pulls attention to itself and clashes with any plating.
A fork, a spoon, a glass, a small bowl for sauce, fresh herbs. That’s enough to build a story around the dish.
The main rule sounds simple: props must not speak louder than the dish. If the viewer noticed a beautiful antique spoon first and the food only after that, the shot hasn’t done its job. And props have to fit: juicy shish kebab on porcelain next to candy looks odd, no matter how expensive the tableware is.
The closet fills up with boards and plates that didn’t suit a single shoot. Buy for a specific shot you’ve already come up with, and the kit will build itself in six months.
A mirror-like surface catches reflections from the window and from you, and fighting them eats the whole shoot. A matte background forgives mistakes and looks more expensive.
A pattern around the rim, a colored border and a textured design compete with the dish for attention. Neutral tableware puts the focus on what you’re being paid for.
A rustic board under sushi and a porcelain saucer under a burger make the dish harder to recognize. Props have to continue the restaurant’s story, not argue with it.
A story in the frame: what clients pay more for
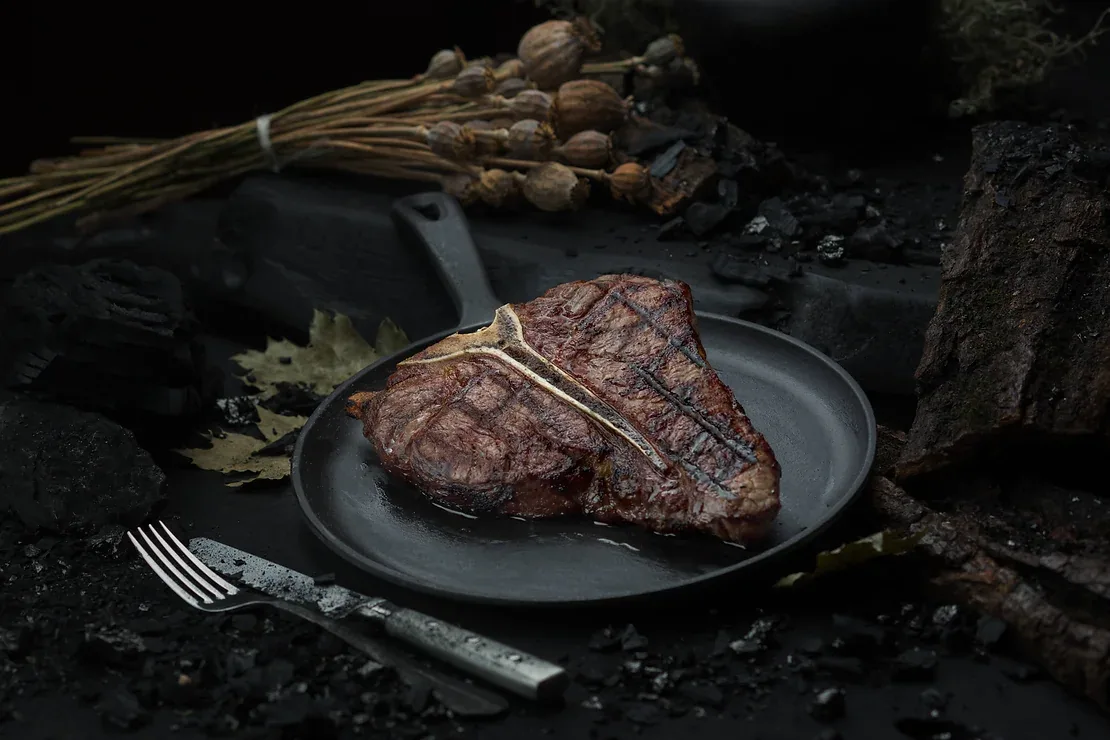
A technically correct photo with even exposure and crisp focus easily gets lost among hundreds just like it. A photo with a story is one the viewer remembers, saves and shows to a friend. Story is what separates a menu shoot at list price from a shoot after which the restaurant keeps coming back to you for years.
Giando Caprioli, an Italian, runs a restaurant under his own name in Hong Kong, where an ordinary lunch is booked a month ahead. I had to shoot his spaghetti with mushrooms and caviar, and on a white restaurant tablecloth it turned into just another faceless restaurant photo.
I borrowed a crate of fragrant hay from the chef, brought from the south of Italy straight to Hong Kong, and built the shot around a small story of a village boy wolfing down his mom’s cooking while sitting on the hay. The dish stayed the same, but the photo started telling where it comes from.
Since then, the first question I ask a chef is about where the dish comes from, and only then about the plating. Where the recipe came from, whose cuisine it is, what the chef associates this dish with. The answer almost always suggests the background, the props and the mood of the light.
This works just as well for practice at home. Before you set the plate down, tell yourself in one sentence what this shot is about: morning coffee alone, Sunday lunch for the whole family, Friday evening with a glass of wine. Then pick the background, the tableware and the light to match that sentence, and the shot will come together faster than usual.
Who pays a food photographer
The food market is wider than restaurants alone, and you notice that as soon as you start looking for your first booking. Several different types of businesses need photos of dishes, and their goals differ.
The menu, the website, the social media page, ads in the feed, seasonal items. A guest chooses a place by the photo before reading what’s in the dish, so here the picture directly affects revenue.
Here the photo works as a promise: the dish in the box has to match what the person saw on the screen. The accuracy requirements are higher, but the shoots are regular and high-volume.
Brands of grains, sauces, cheeses and drinks order photos for packaging, catalogs and advertising. These are the longest negotiations and the biggest budgets in the niche.
Plating guides, recipe books, a chef’s personal brand. These shoots often grow into a long collaboration, because a chef moves to a new restaurant and takes the photographer along.
How much food photographers earn
The first thing to learn about money in this niche: the unit of measure here is the shooting day, not a single photo or an hour of work. A restaurant books a menu shoot or a series for the season, and in that day you shoot an agreed list of items. Trying to price the work per piece almost always ends in undercutting yourself.
In a full shooting day, which is about eight hours, you can realistically shoot twenty to thirty menu items if the kitchen sends the dishes out on time. One dish takes ten to fifteen minutes on average. With a big team you can get to forty, but then you’re left with two or three shots per dish.
A shooting day in business niches costs from a few hundred dollars to two or three thousand, and where you land in that range depends on the complexity of the plating, the size of the menu and the city.
| Where you work | Shooting day for a business |
|---|---|
| Ukraine | 300–1200 $ |
| Poland | 550–1200 $ |
| Spain | 650–1600 $ |
| Germany | 1200–2800 $ |
| USA | 1300–3500 $ |
The top of the range looks out of reach only for the first year or two. In my case, shooting restaurants led to international contracts, and today my shooting day in food costs up to four thousand dollars. The road here was made of a portfolio, repeat clients and one specialization instead of ten.
Svitlana Polizhaka moved to Spain and at first shot coffee and streets on her phone, with no direction and no bookings. Once she built a portfolio around one specialization, restaurants and brands appeared, and her shooting day started at seven hundred euros. That is already the upper half of the Spanish range in the table above.
I’ve put together rates by city in Ukraine, the cost of a shooting day and a formula for your own minimum price in a separate article on how to make money with photography.
The income calculator works out your price floor: how many shoots a month, and at what price, you need to book to reach the amount you want. Enter your expenses and target income, and you’ll see the number below which working makes no sense.
Open the calculatorFree.
How to land your first restaurant
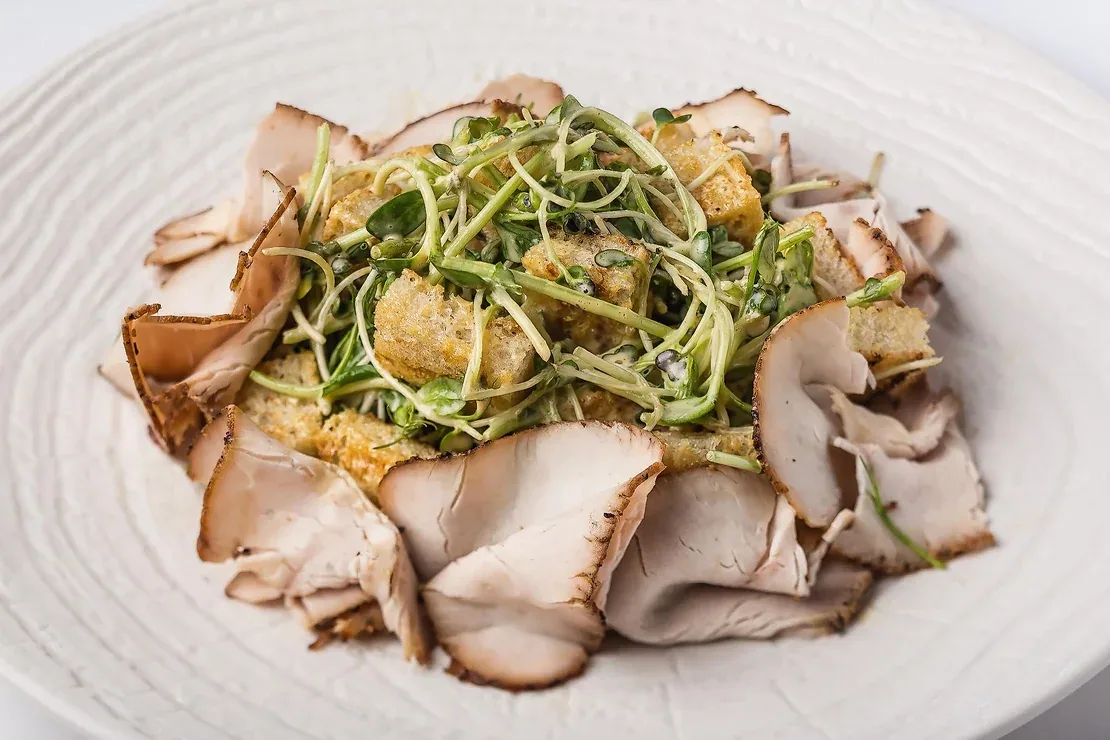
The first booking in this niche comes from a specific sequence of steps, not from advertising. The plan below works the same in Kyiv, in Warsaw and in a small town with twenty places in total.
Shoot breakfast at a cafe you know in daylight, or make a series at home of one dish in different moods. A client doesn’t care how many photos you have. They care whether the photos look like their place.
Light, airy photos, dark, contrasty ones, or a homey rustic story. A restaurant has to recognize its own style in your portfolio, and a mix of everything instantly reads as no specialization.
Go through the map of your neighborhood and write down ten cafes whose photos in the menu or on their profile look weak. They are your warmest clients, because the need is already there.
Order a dish, eat, get to know whoever works the floor, and find out who handles social media there. Take a couple of photos of your plate right there, in daylight by the window.
Show a photo of their dish that you took, and explain in one sentence what will change in the menu and in the feed. Generic emails about collaboration don’t get read, but a photo of their own dish always gets opened.
A menu shoot plus a month of social media content sells better than a one-off shoot and makes you a regular contractor right away. Charge for a test shoot of two or three dishes, even if at a lower price.
Halyna came to photography at thirty-five, with an IT degree and zero connection to visual professions. At first she spent about a year shooting content for clients on her phone, then asked for a course as a New Year’s gift, and today she shoots food for restaurants. The path from the first photo by the window to working with restaurants is one that ordinary women with no art education walk.
Mistakes that kill the shot and the booking
A free shoot doesn’t turn a client into a regular. It teaches them not to pay. A discount on the first job works. A zero on the invoice never does.
Herbs turn toxic bright, meat turns brick-colored, the sauce looks fake, and appetite disappears along with trust. Color in food is dialed in with white balance and tint, and the saturation slider is the last thing you touch.
Shooting close stretches the edge of the plate, the round rim turns into an oval, and the spoon in front looks bigger than the dish itself. Take a step back and shoot at a longer focal length, and the shape of the tableware will be right immediately.
The restaurant’s manager will pick the first photos they open, not the best ones, and your work will go into the menu at its weakest. Hand over a selected series for each item, and the decision stays with you.
What to do today
Take any dish you’re cooking today and put the plate by a window. Take three photos in a row: at forty-five degrees, from above and at table level. Then turn the table so that the window is behind the dish, put a white sheet of paper in front and repeat the same three photos. Six pictures of one plate will show you more about angle and backlight than any text, this one included.
Do the second exercise over a week. It takes ten minutes a day. Shoot one and the same simple dish, breakfast for example, every day in different light and on a different background. In seven days you’ll have a series you can already take to the cafe on the corner, and an eye of your own that notices the direction of light before you’ve even taken out your phone.
Once the basic shots start coming out consistently, the next question will be specialization and pricing. I’ve written about how to pick a direction and not change it every month in the article on which niche a photographer should choose. At the school we have a separate specialization, “Food Photography,” with work in a restaurant kitchen and lighting set up for specific dishes, but it makes sense to look there only after your first series of your own.